Continues from here
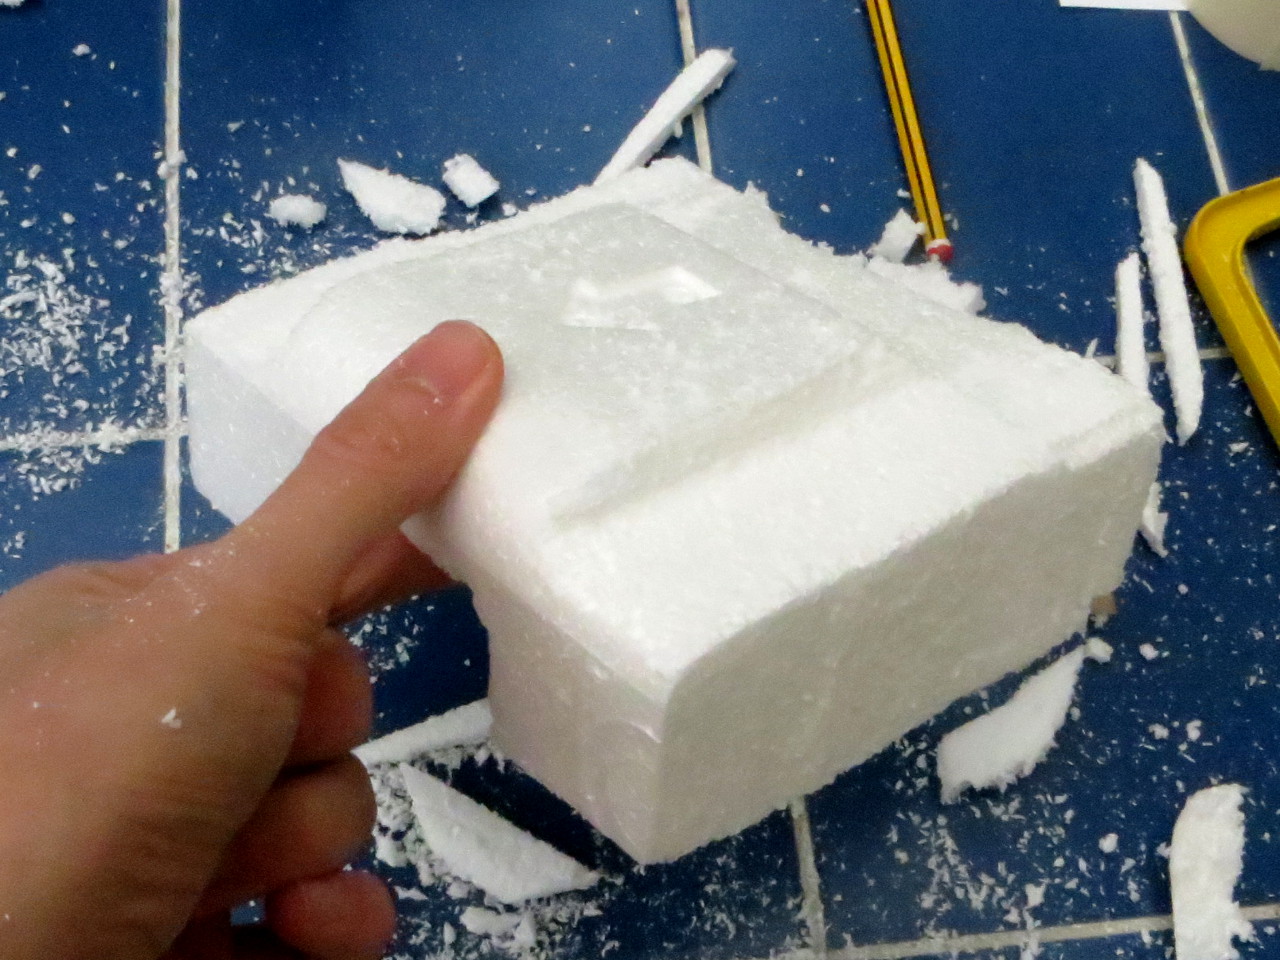
In the previous instalment I had come to the conclusion that the current design was way too boxy, and the closer I could get it to a cylindrical shape, the better. However, there’s a limit to how close I can get without jeopardising structural integrity. Let’s not try to be too ambitious.
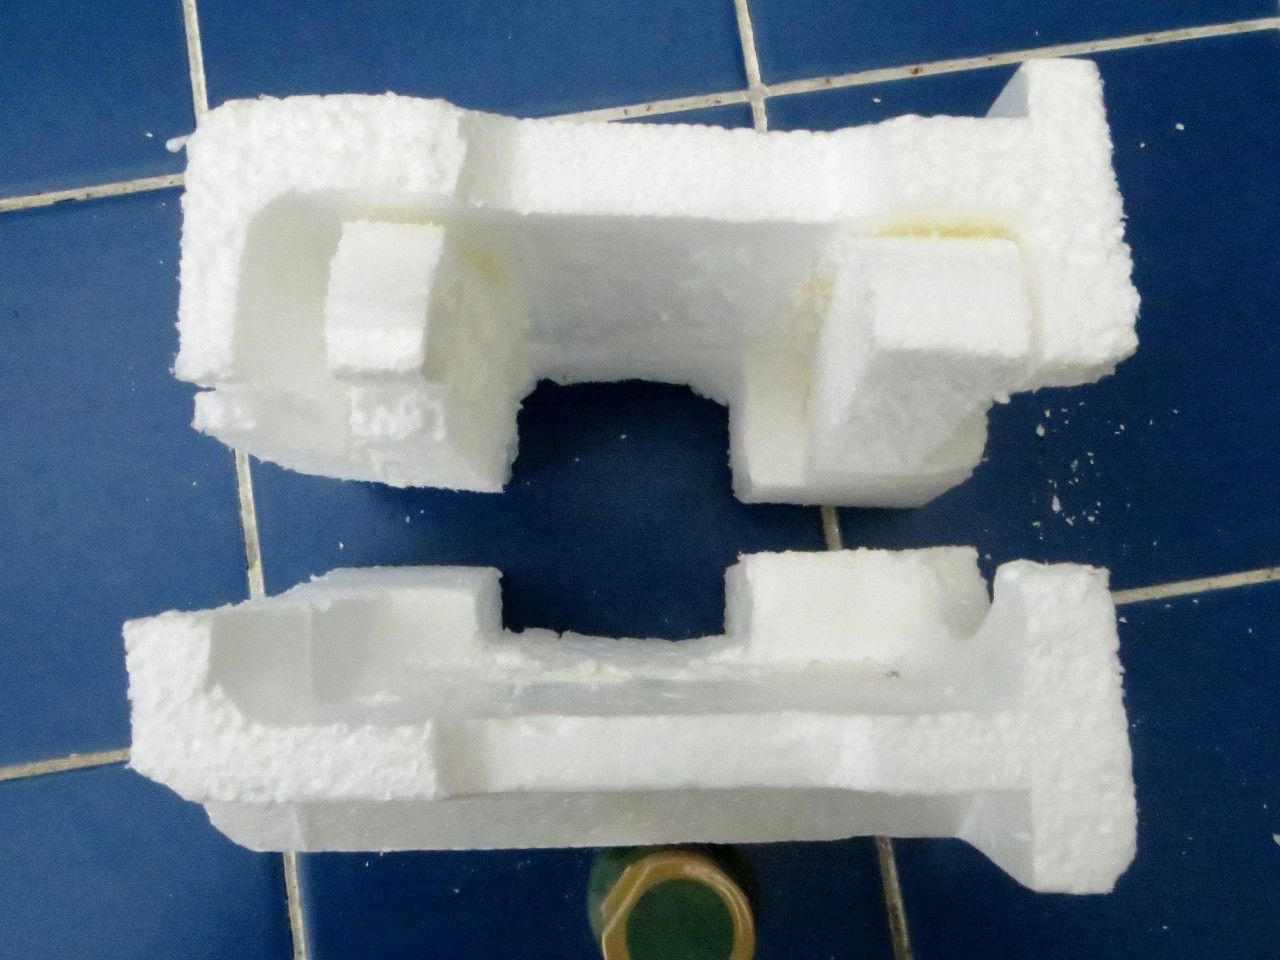
I rounded over the bottom part as much as I dared.
For the top, I need to retain a nice big flat rectangle for the screen, which would then stand proud of the sections around it. The larger area in pencil here is the area that I want to leave alone.
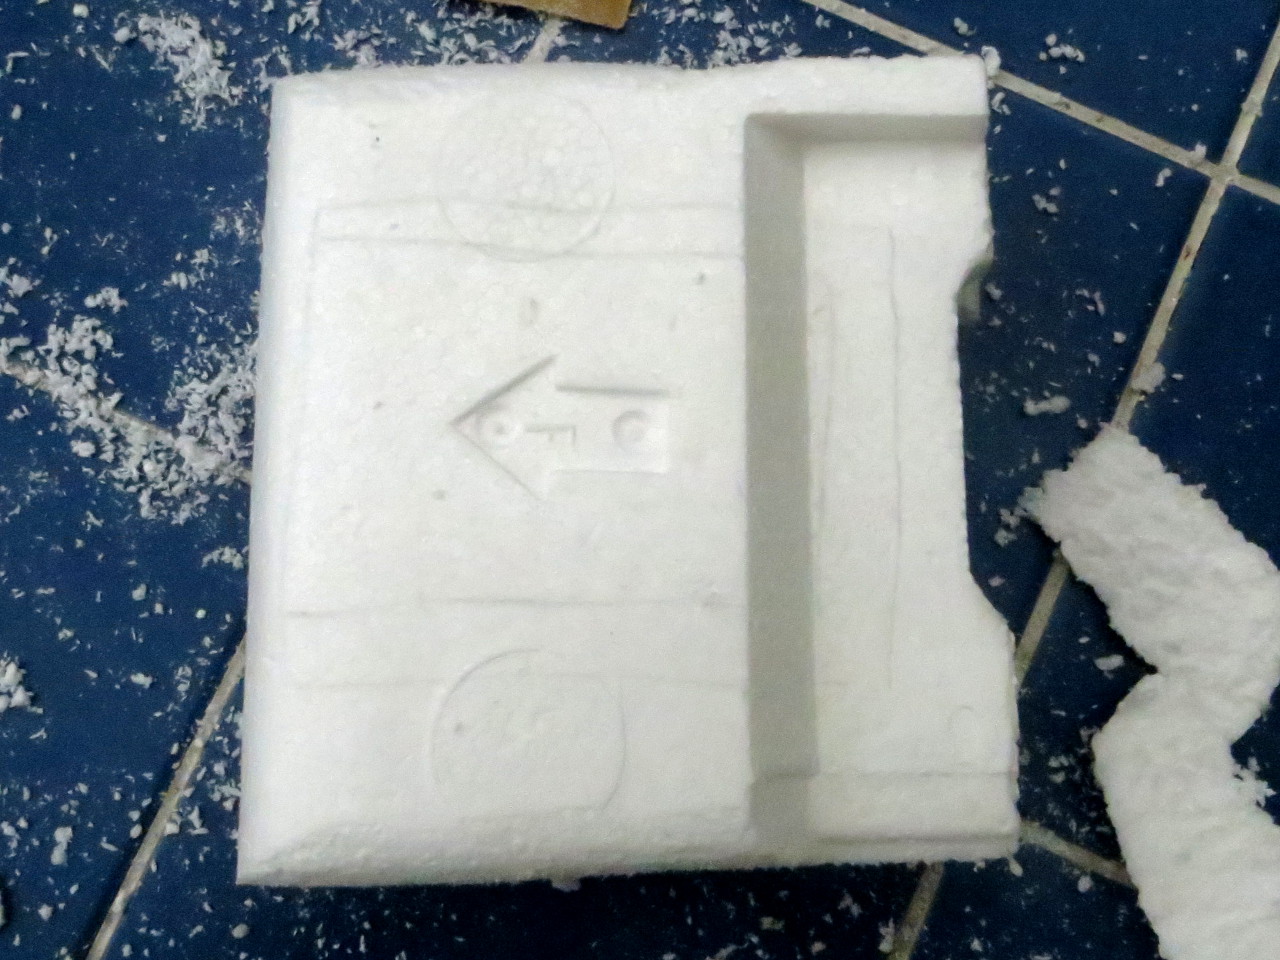
I then carved out some material above and below the screen to get a pleasing amount of relief.
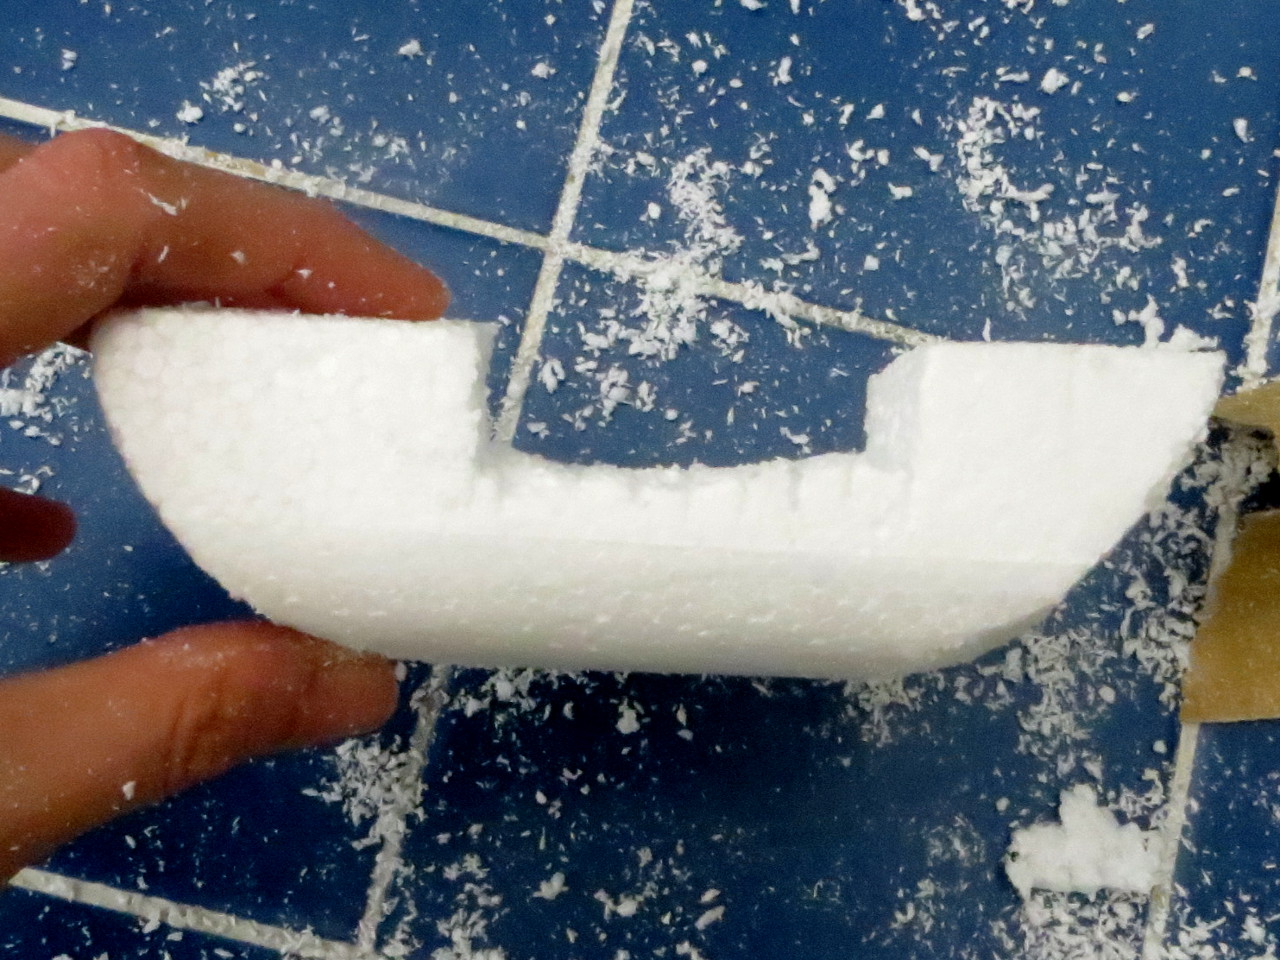
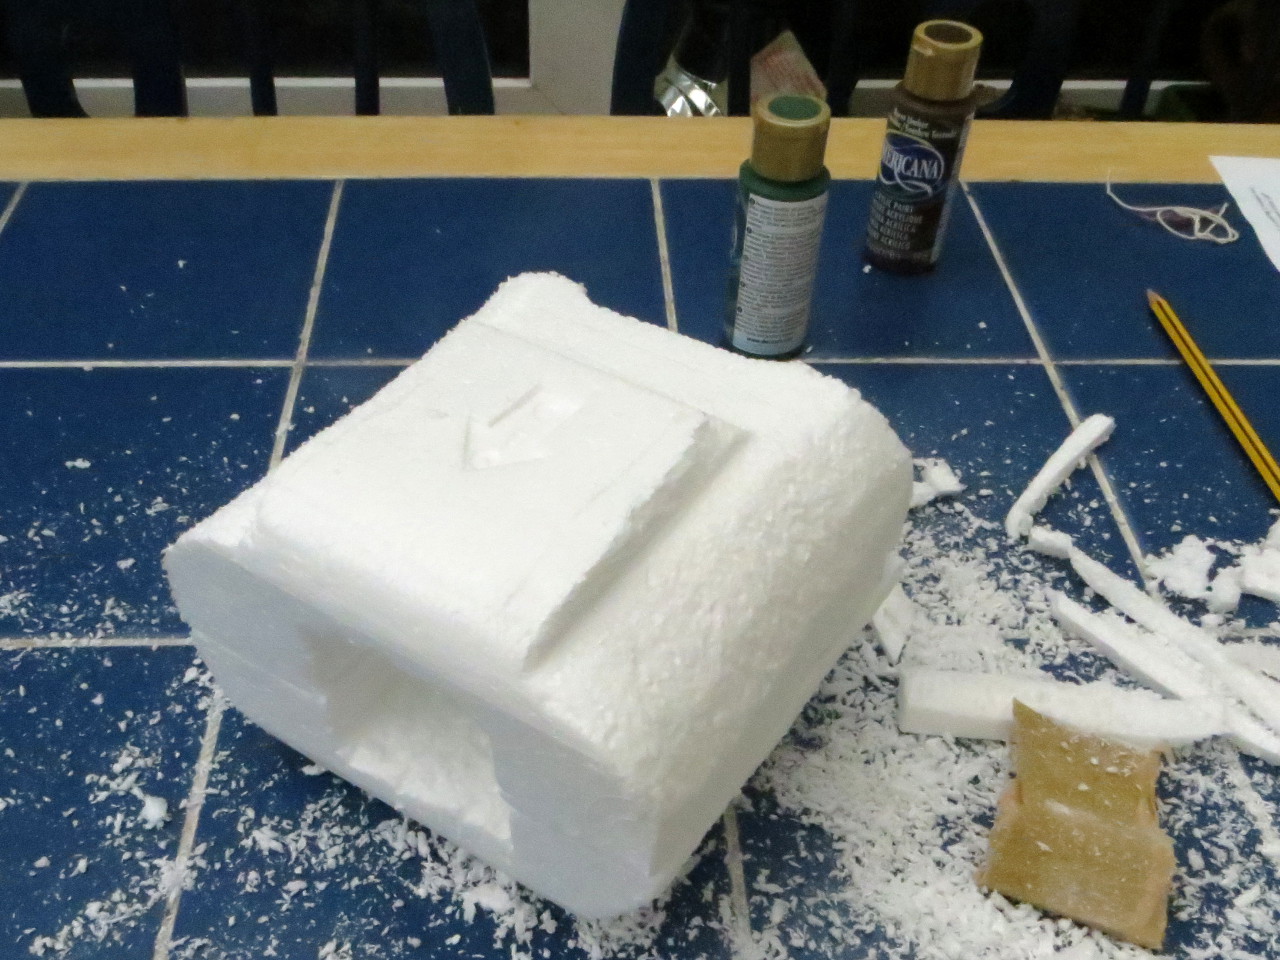
With that done, all I needed to do was to apply a roundover to the top to match the bottom. Again, I played it safe to minimise the risk of leaving this thing too fragile. In the background you can see the paints that I have bought – I’m going to mix the brown and green to get a suitably military-looking green.
Next step is to wrap the whole thing in gaffer tape to prevent any more polystyrene flaking off. Ran out of black tape so I had to switch to yellow, but I’m hoping that it won’t be apparent through the paint. The feeling of gaffer tape on polystyrene takes me right back to my brief sojourn into LARPing back at University.

“Lunch is ready!” dragged me away from this half-finished job – there’s still a little bit more to go on the bottom half. We’re on track to get this finished by our late-December deadline, I think!
I hope you’re going to clean up that mess.
It’s beginning to look a lot like Christmas.