Continues from here
The end product of my first building session was far too bulky, in all directions, so today’s work is going to be all around shaving off unnecessary polystyrene. Where possible, I don’t want to disturb a smooth surface that’s already there, so the obvious solution is to deepen the cutouts for my forearm and reduce the thickness from the inside.
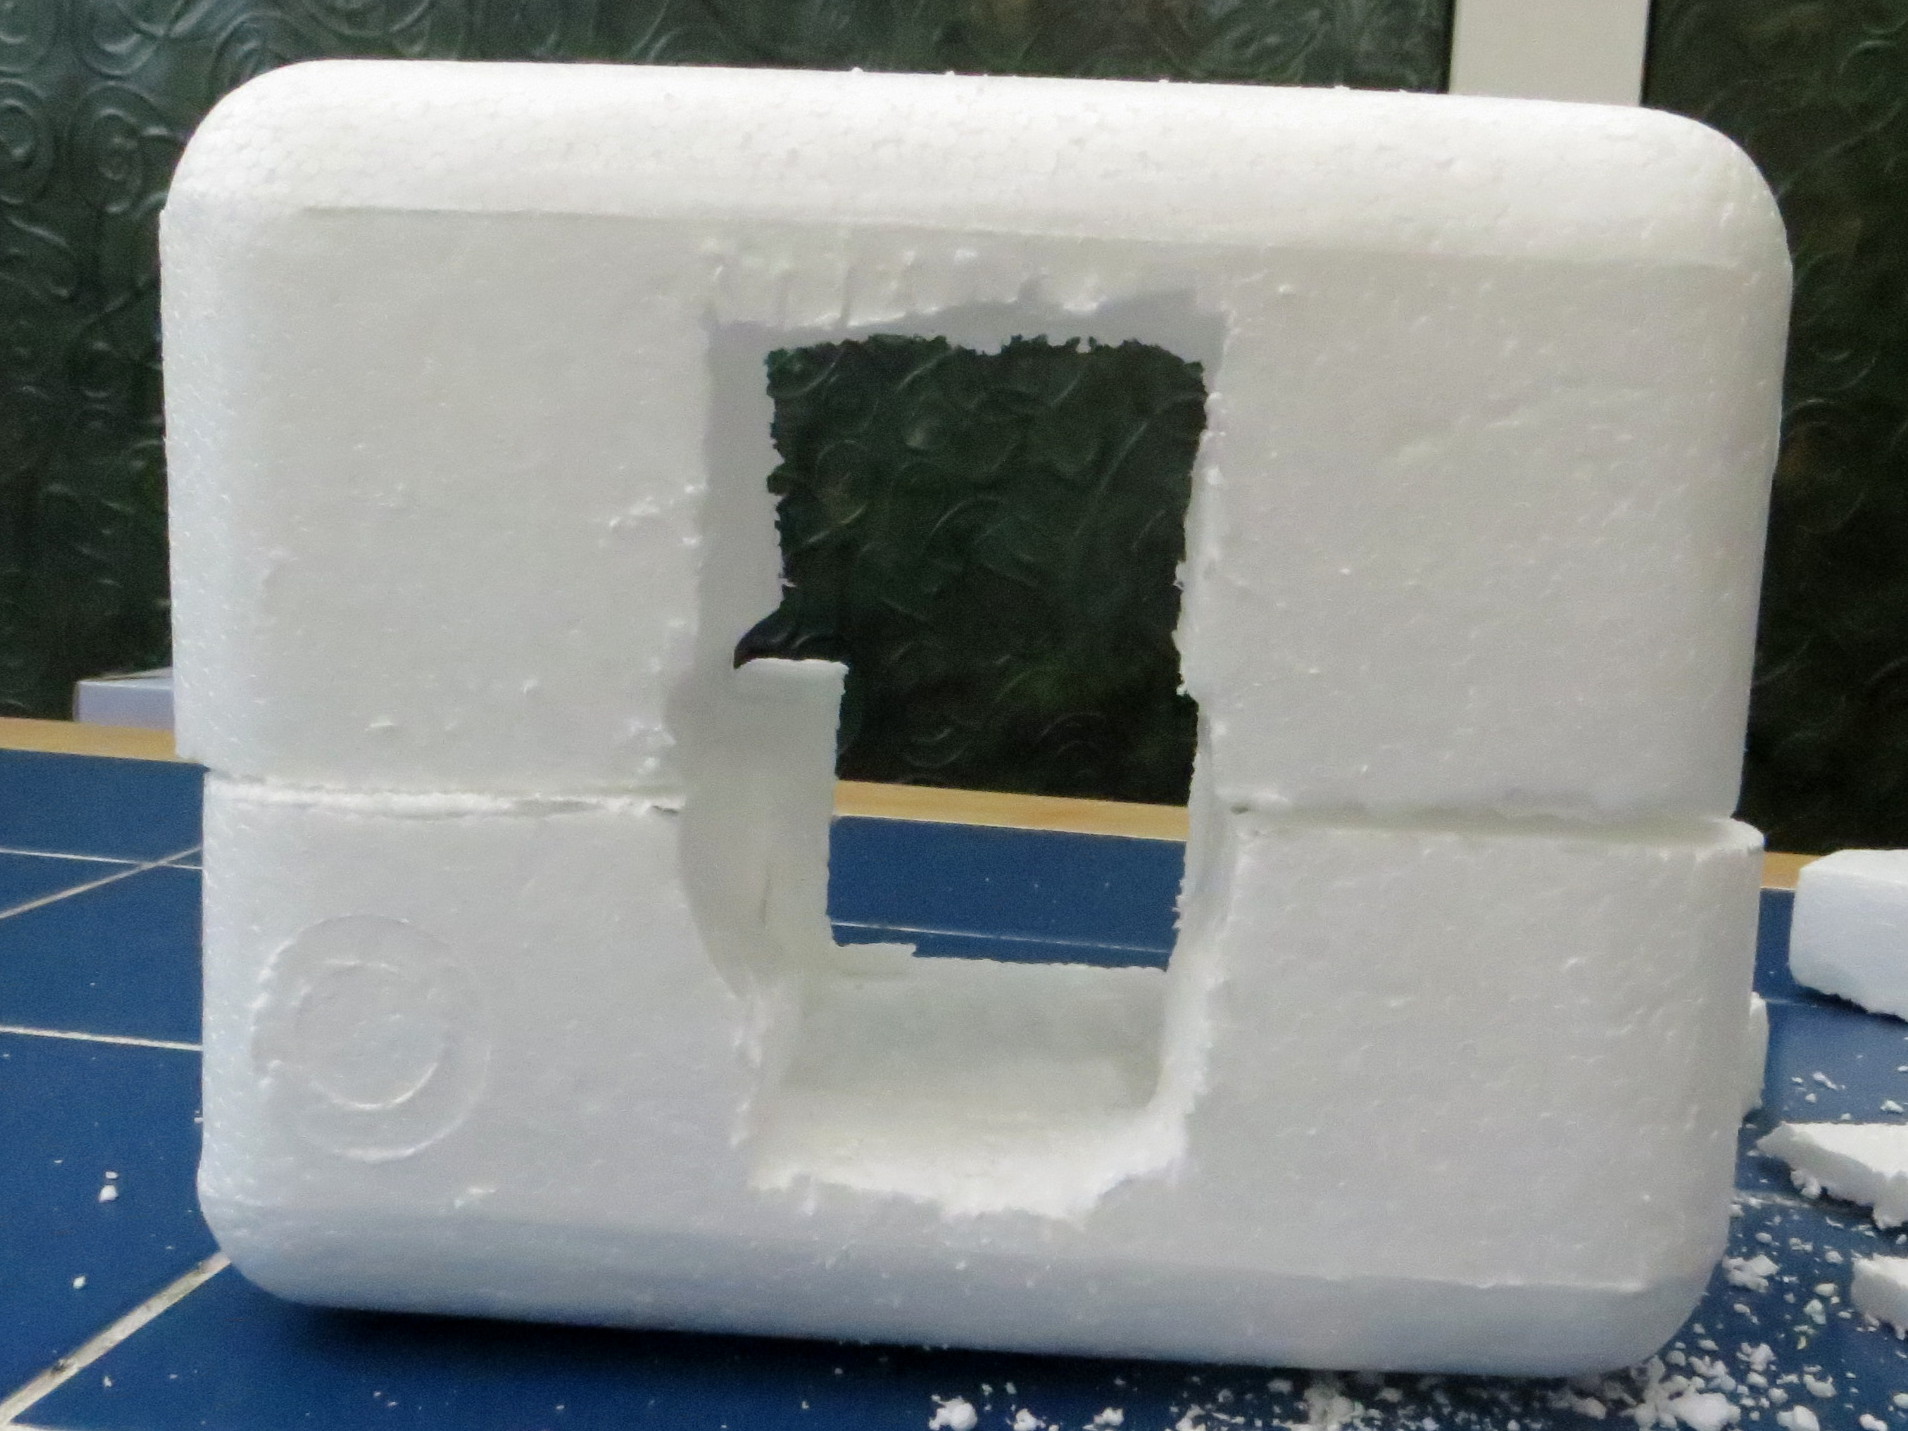
This produces a vastly improved result, and the top piece now sits on top of my forearm with just the right amount of thickness. Very pleased with this.

The next dimension to attack is the width. There’s a limit to how much I’m going to be able to cut this down, because I’ve glued some offcuts onto the inside to pack it out, and I don’t want to expose these. I’ve got to make sure that there’s enough thickness of the original material to retain some strength
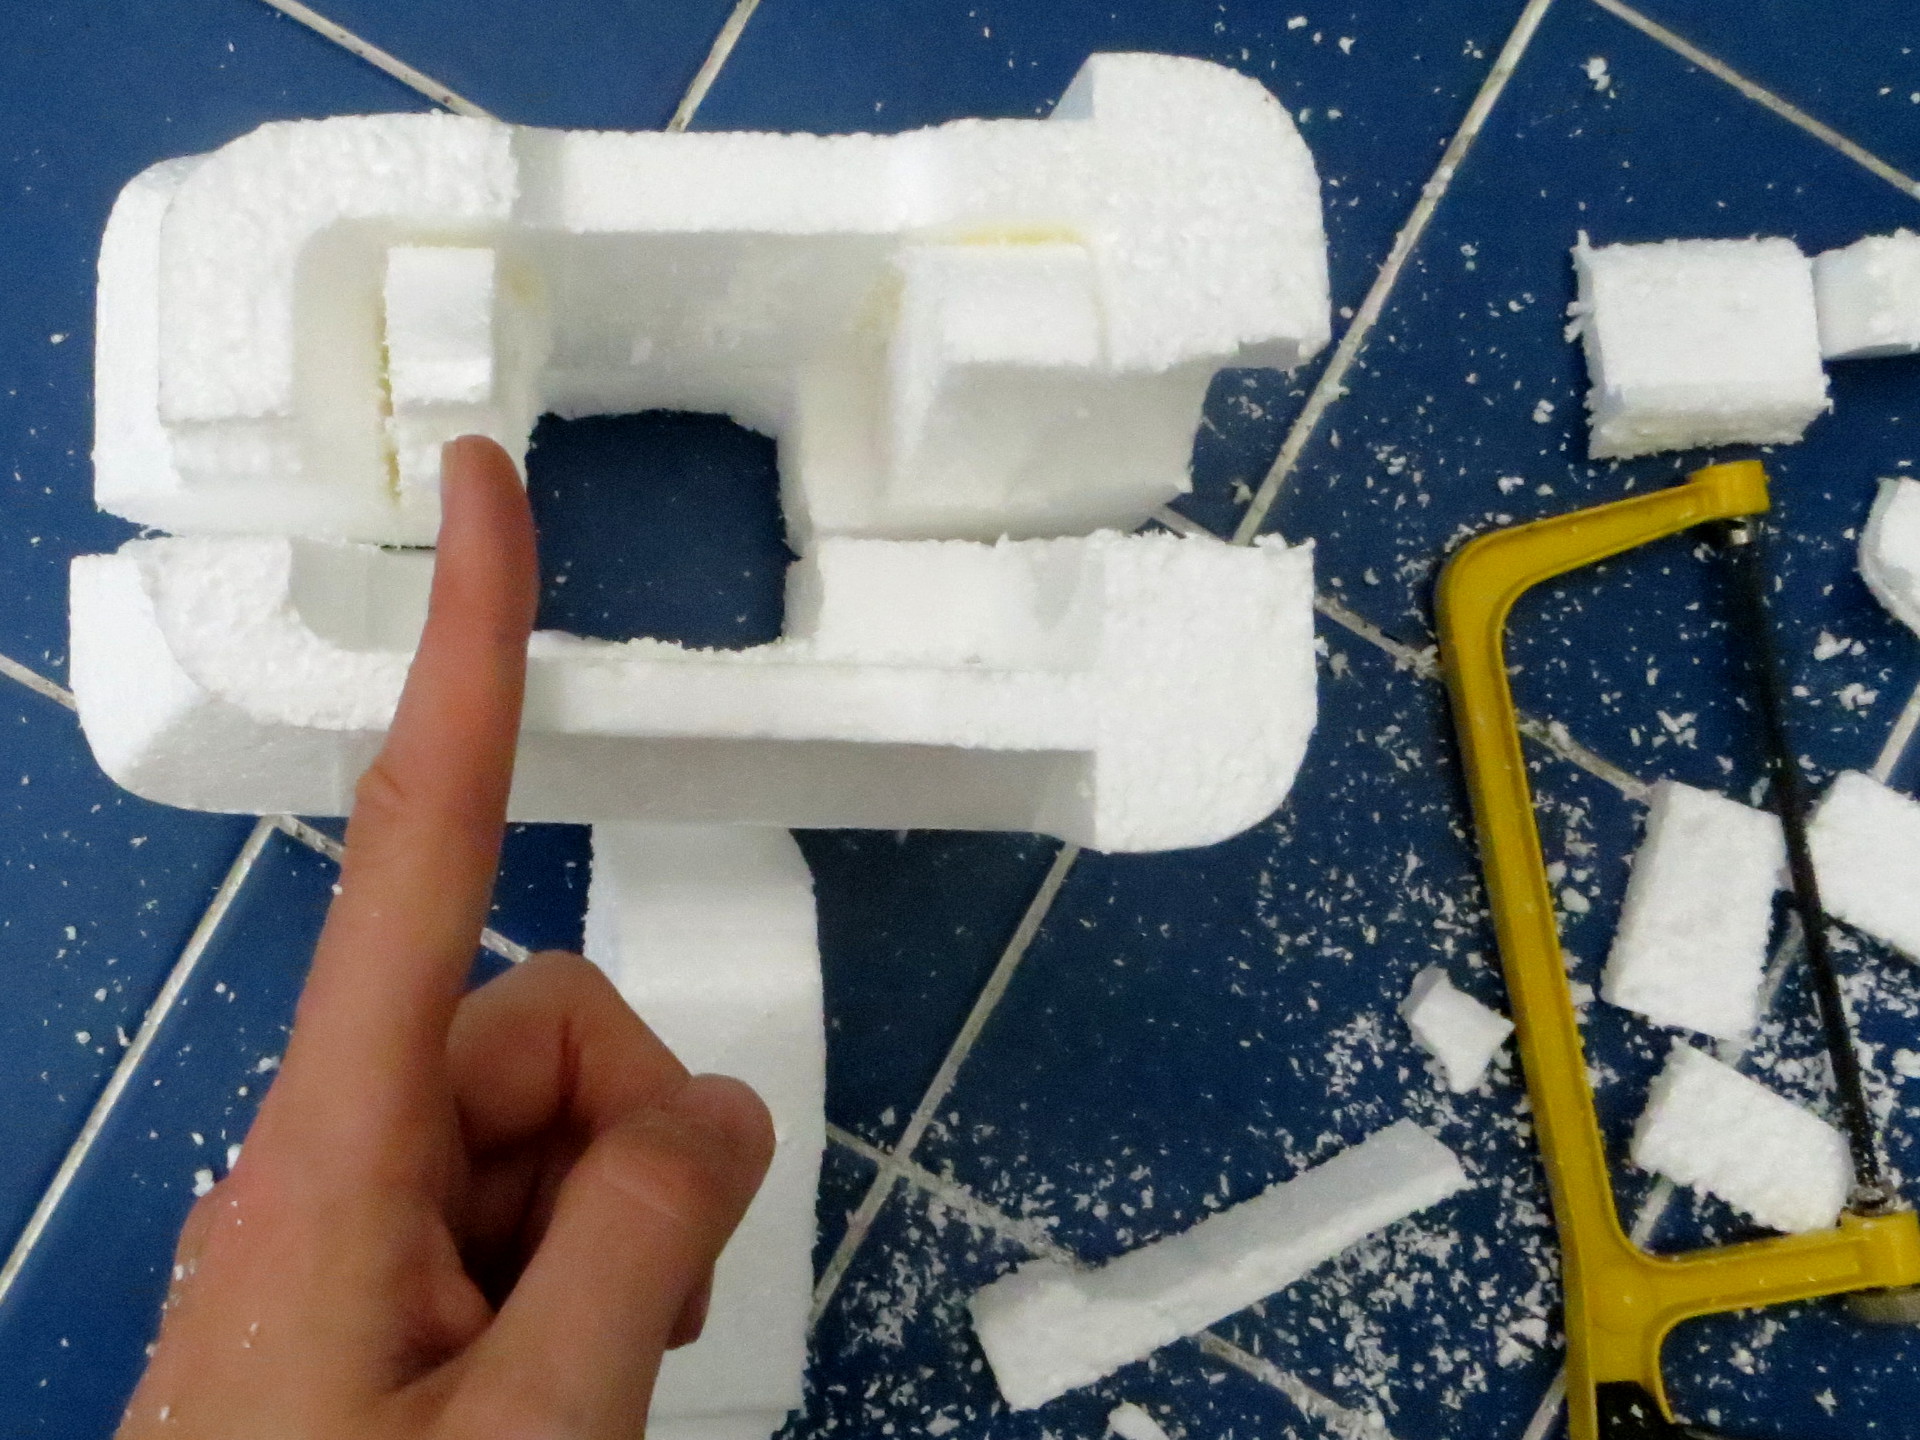
Trimming down the top face brings me to this result, so now all I need to do is trim down the bottom face to match.
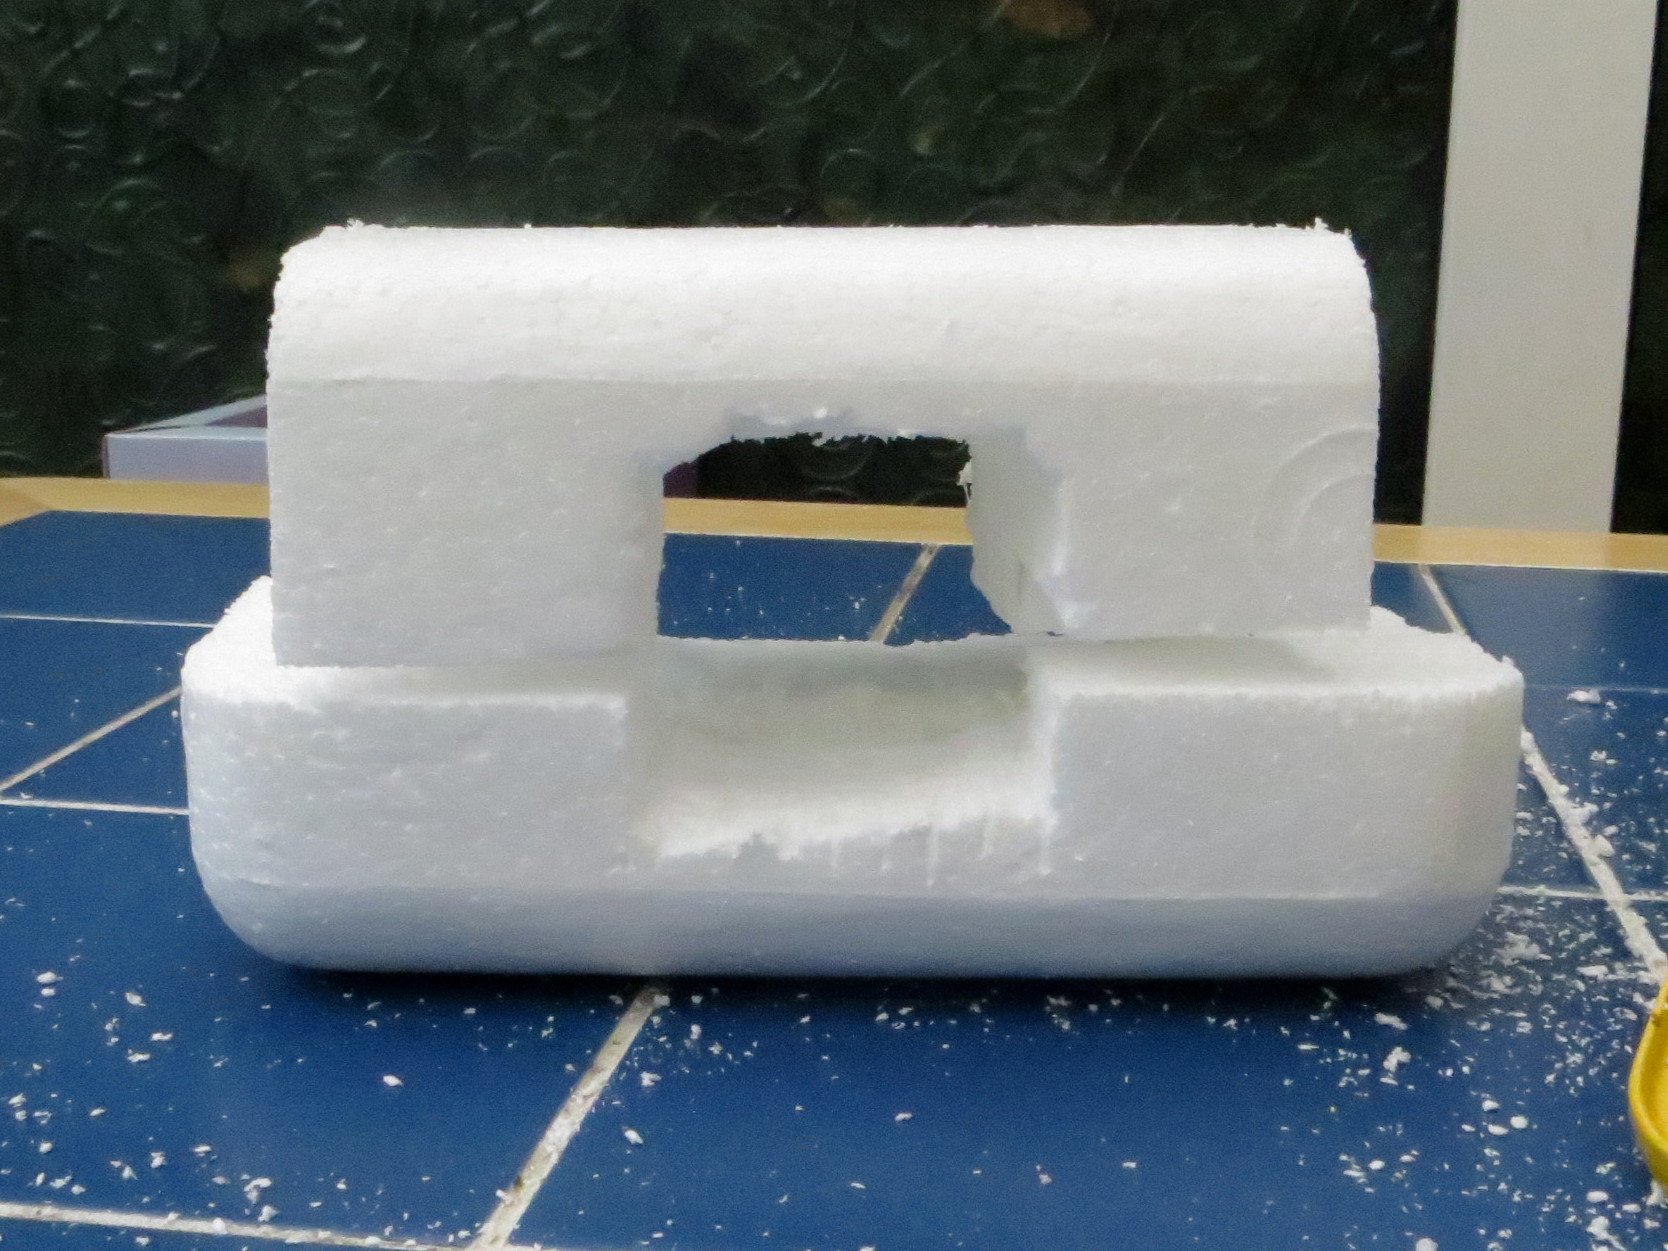
One of the great joys of working with polystyrene is how easy it is to get a nice roundover. Just a few strokes with a piece of coarse-grade sandpaper, and you’re done.
The problem I have here is that, in its current state, it looks like a box with rounded corners, whereas I really want it to be looking more like a chunky cylinder with a flat screen on the top of it. I’m going to want to increase the radius of those roundovers and do a bit of contouring on the top, to get the best effect possible with what I’ve got, but the lack of material on the interior is going to be the limiting factor.
Once I’ve got it as close as I can (without risking the whole thing snapping in two and having to start again, what a shame that would be) I’ll wrap it in gaffer tape to stop more polystyrene from flaking off, then begin to paint.
Continues here